Making Butter at Home from Fresh Cream
Making butter at home from fresh cream is a simple yet satisfying process that brings you closer to traditional, homemade food. Freshly churned butter has a flavor and richness that’s hard to find in store-bought options, and it only requires a few ingredients and tools. If you have access to fresh cream, you’re well on your way to producing delicious, homemade butter that can be enjoyed in countless ways. Here’s a step-by-step guide to turning cream into butter in your own kitchen.

Ingredients and Tools
To make butter, you’ll need:
- 2 cups of fresh heavy cream (ideally from a local dairy, or non-homogenized if possible)
- A pinch of salt (optional, for salted butter)
The basic tools are simple:
- A stand mixer, hand mixer, or even a food processor (although the traditional method of shaking in a jar can work in a pinch)
- A fine mesh strainer or cheesecloth
- A mixing bowl and spoon
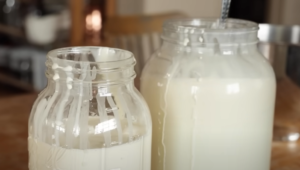
- A jar for buttermilk (a byproduct you’ll want to keep)
Step-by-Step Process
1. Whip the Cream
Pour the fresh cream into a mixing bowl. Using a stand mixer or hand mixer, start whipping the cream at medium speed. The cream will go through several stages—first, it will turn into soft whipped cream, then stiff peaks will form, and eventually, the cream will begin to break down into butter and buttermilk. This process usually takes around 10 minutes, so be patient!
As you continue mixing, you’ll notice the cream become grainy and start to separate. This is the point where the fats are separating from the liquid, which will become buttermilk. Once you see clear liquid pooling at the bottom, you’re ready for the next step.

2. Separate the Buttermilk
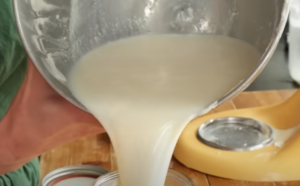
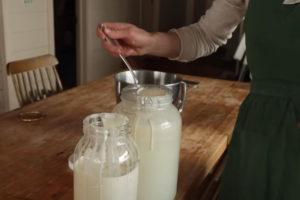
Using a fine mesh strainer or cheesecloth, pour the mixture into a bowl to strain out the buttermilk. Save this liquid—it’s a wonderful byproduct you can use in baking, smoothies, or even pancakes. Set the buttermilk aside in a clean jar, and focus on the solid part that remains in the strainer. This solid is your butter.
3. Rinse the Butter
To make sure your butter keeps longer, you’ll want to rinse it to remove any remaining buttermilk. Place the butter in a bowl and pour cold water over it, kneading the butter gently to release the buttermilk. Pour off the cloudy water and repeat this rinsing process a few times until the water runs clear. This step prevents the butter from turning sour too quickly.
4. Add Salt (Optional)
If you’d like salted butter, now is the time to add a pinch of salt. Knead it into the butter with a spoon or your hands. Salt not only enhances flavor but also acts as a preservative, extending the life of your butter.
5. Shape and Store the Butter
Once you’re happy with the consistency, shape the butter into a ball, log, or pat—whatever shape you prefer. Store it in an airtight container or wrap it in parchment paper. Fresh butter can be stored in the refrigerator for about a week or frozen for longer storage.
Enjoying Your Homemade Butter
The beauty of homemade butter is in its freshness and flavor. It’s creamy, rich, and perfect for spreading on warm bread, using in baking, or even melting over vegetables. And if you’re feeling adventurous, you can add herbs, garlic, or honey to create flavored butters that elevate any dish.

Making butter at home is a simple process that’s deeply satisfying, connecting you to the traditional craft of dairy-making. Plus, with the added bonus of buttermilk, you’ll have a fresh ingredient ready for baking. Whether you’re a seasoned cook or just getting started, homemade butter is a delicious reward for a little bit of effort.


